Constructing an Ian Kirk ‘O’ gauge Siphon H – the hard way!
David Coasby
24th May 2020
13 minutes
I decided to do things the hard way when building a Siphon H, instead of choosing the quick and easy (and more sensible) option. I soon nicknamed the project ‘Monty Siphon’ as at times it was almost like a Monty Python sketch, where I stumbled from one problem to the next.
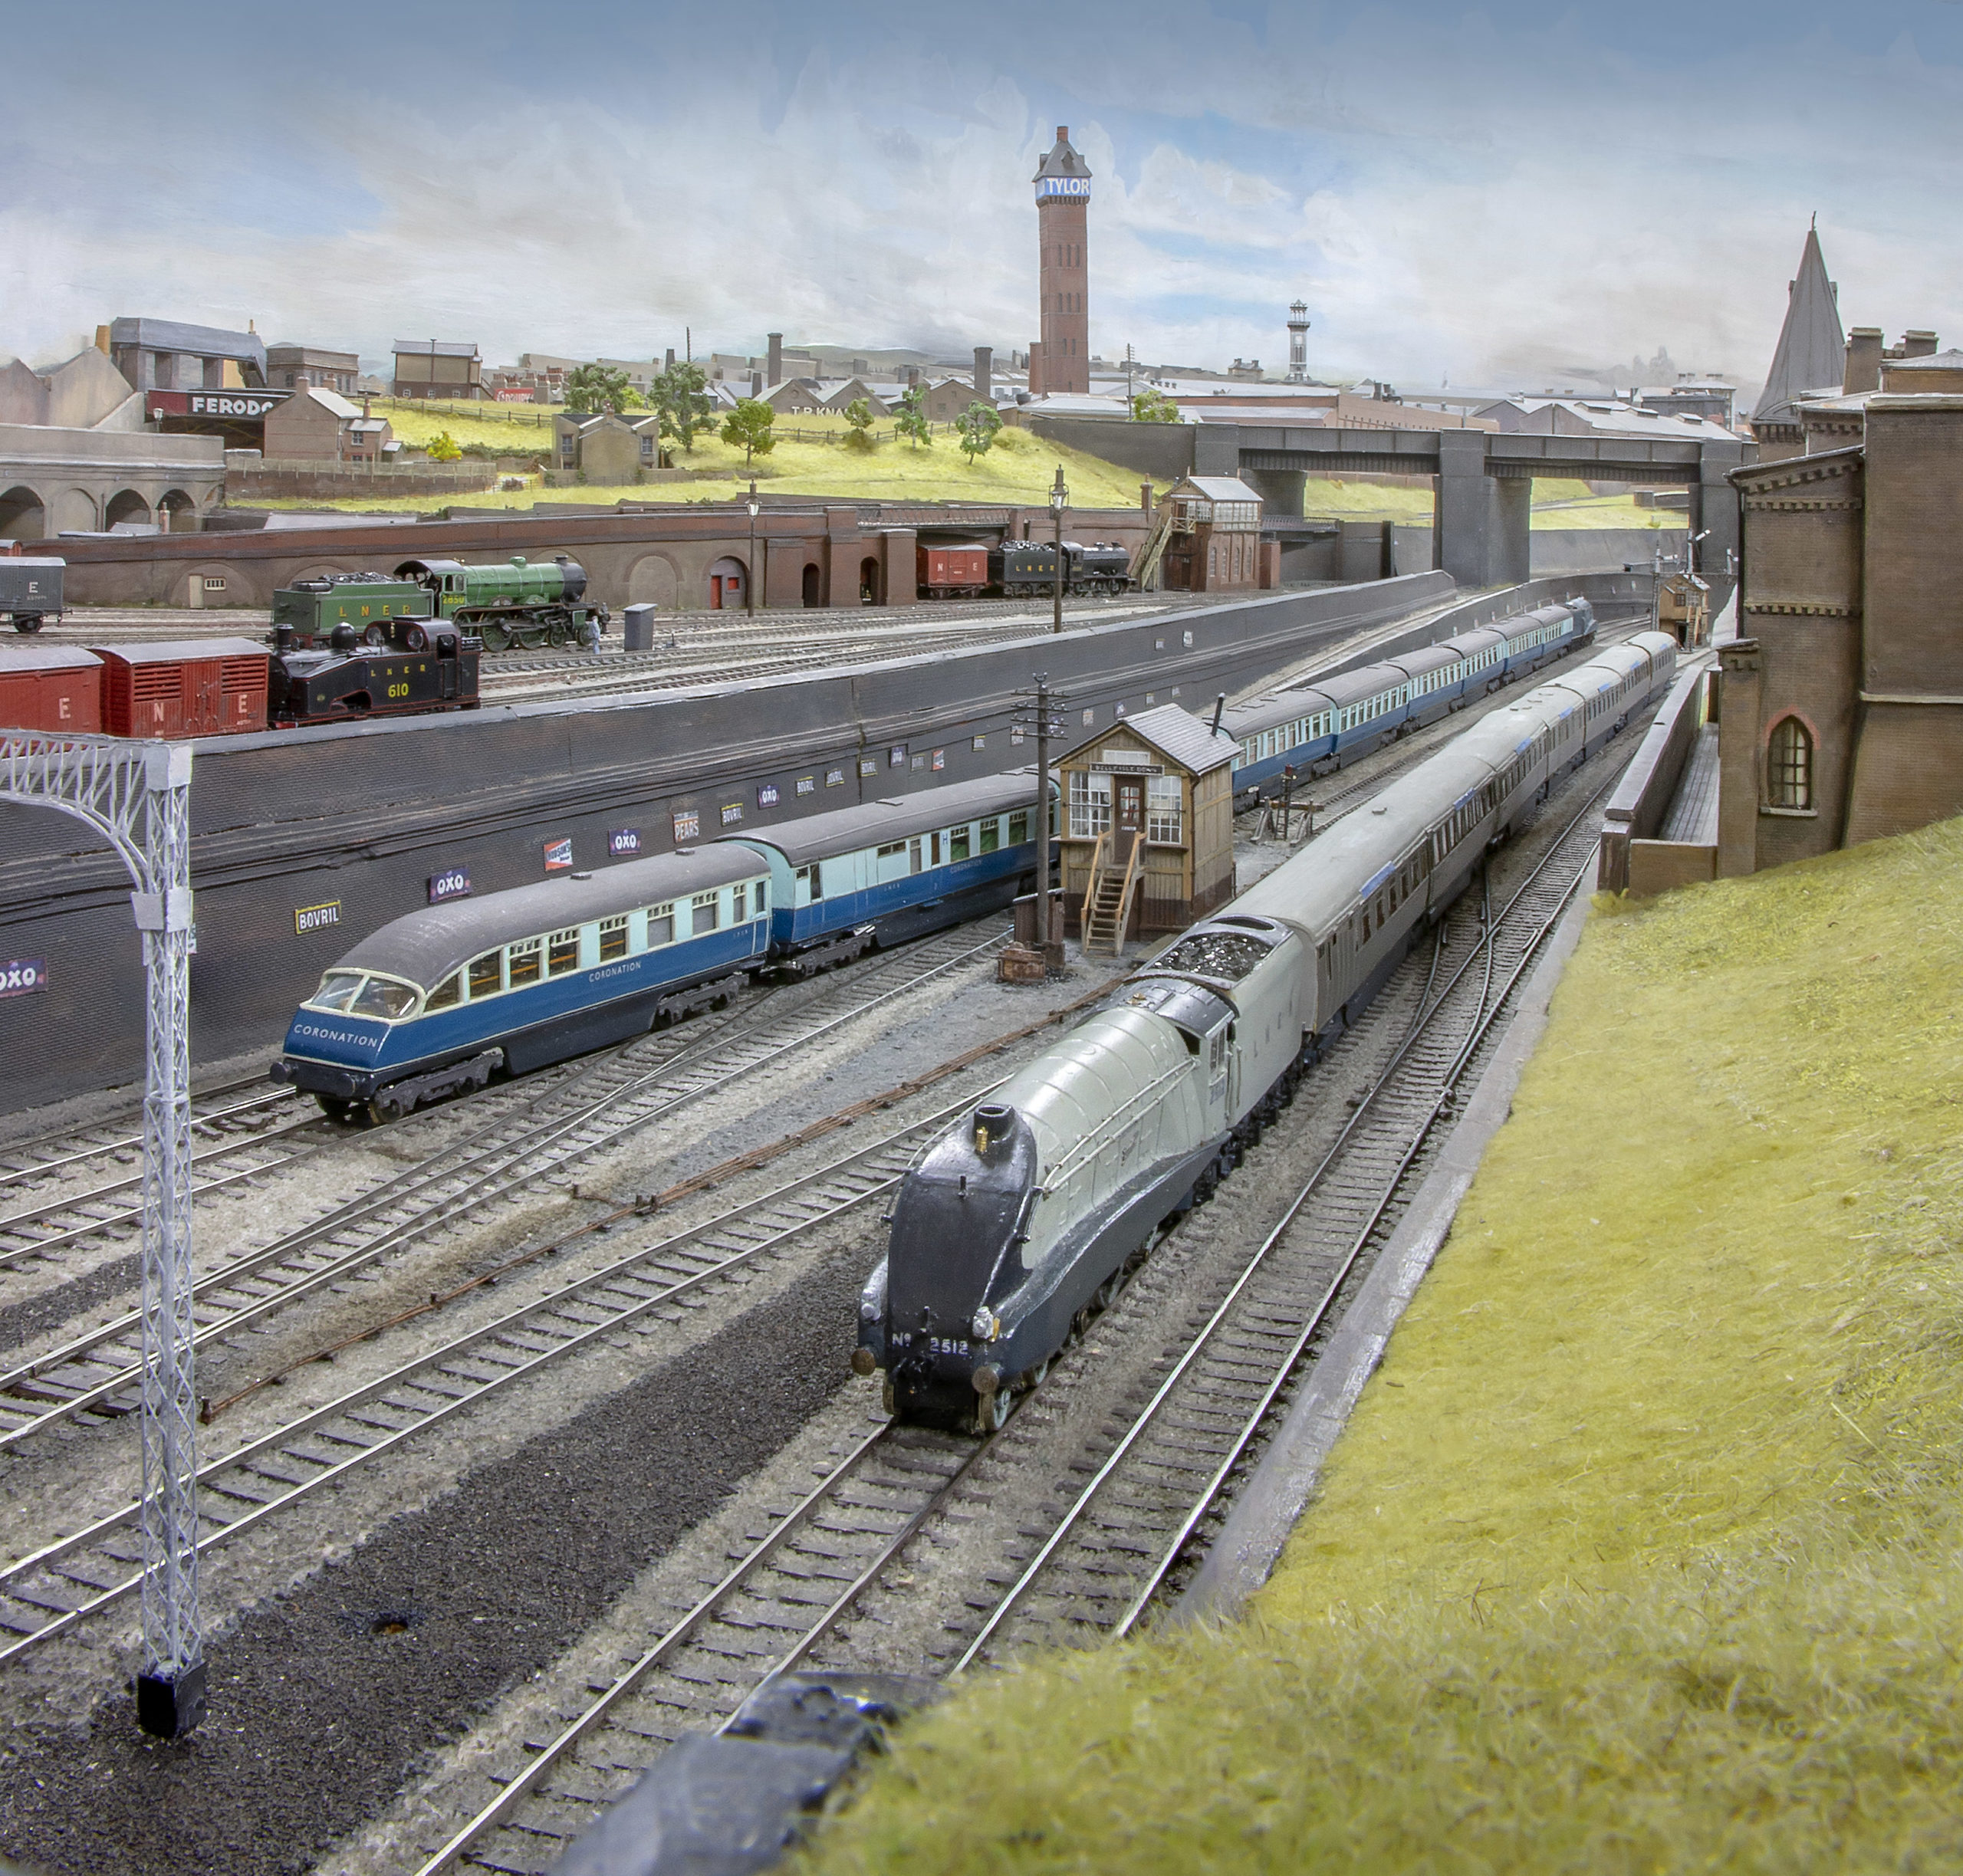
First a little bit of history. One of the factors I consider when I choose to build an item of rolling stock is that it usually has to fill a dual role. As a member of the Happisburgh team I want any rolling stock to be suitable to run on the layout, whose prototype is based in East Anglia in the 1950’s/early 1960’s. The second criteria is for it to be suitable for my yet-to-be-started Southern BR branch based around the same period?
I have always held a deep fascination for BR parcels stock because of its diversity. They were never standardised and were generally unrestricted in their movements, so would frequently appear in a train with vehicles originating from all corners of the country. They would often span many years of railway history and livery variations, as parcels vehicles were not regarded as a high priority for regular visits to the paint shops. So it’s not surprising that some of my Southern prototypes are frequently seen running on Happisburgh, where the parcels stock has always been reasonably comprehensive and varied. But one vehicle that has always been missing on the layout was a GW Siphon. Although there had been an ‘O’ gauge etched brass kit on the market for some time I wasn’t keen enough on ex-GW types to fork out on this nice, but expensive kit. But when Ian Kirk introduced his outside framed Siphon H at the bargain price of around £45 I became tempted.
I bought the kit on Ian’s stand at the Watford Fine Scale Show in November 2004 where Happisburgh was on show. I’m sure like most modellers I follow the normal routine of tucking any new kit away until a suitable opportunity comes along to start it. For months this didn’t occur. But with the forthcoming Guildex rapidly approaching in September 2005, where again Happisburgh was going to be one of the exhibits, I decided I just might have time to get the vehicle ready for the show. I also wanted to be the first in the MRC to have one painted and ready to run, as both Patrick Staunton and Cyril Freezer had both bought identical kits, so hopefully
one day we’ll end up with three! A visit to The Club’s Library was now needed to find some information on the prototype. I asked the duty librarian that night – Chris Lyons – if we had any books on Siphons? He replied that he was only looking at such a book a few minutes previously. Titled ‘GW Siphons’ by Jack N Slinn &
Bernard K Clarke and published by the HMRS it was just what I was looking for. Until I opened up the book I hadn’t realised there were so many different types (well, I am a Southern man!) The kit that I’d bought from Ian Kirk was a Siphon H. Basically much the same as the more common Siphon G’s, but with end doors and obviously no corridor connection, plus some other detail differences. But I wasn’t going to get too bogged down with every nut and bolt, as all I required was a reasonably accurate model that I could build quickly, would run well and wouldn’t cost a fortune to built. But I soon discovered just how wrong that assumption could be!
I’d never built any Ian Kirk kits previously (although there are a few fine examples running on Happisburgh). I was aware that one of the reasons Ian can keep his prices so reasonable was the modular construction technique he employs, and to be honest, the instructions are a little basic. But if you’ve built a few Slaters or Parkside kits and are prepared to sit down and think about what you’re about to do for a few minutes before commencing each stage you shouldn’t have too much trouble. There’s no overall moulding for the sides, instead each door and panel is a separate piece, which must be cut from the sprues and cleaned up. This really is the only part of the construction you need to be very careful with, as it’s vital you glue the pieces together straight, flat, and in the correct sequence. I used normal styrene liquid solvent, with just a tiny
dab of glue here and there to tack the pieces together. Let the adhesive dry thoroughly before checking everything is as it should be and applying some more adhesive into the joints once you’re satisfied it’s all OK. A piece of plate glass on which to build your assembly and a steel rule are very useful at this stage, thus keeping everything dead flat and straight until the adhesive sets firmly. I was just admiring my handy work when I noticed I’d stuck one of the doors upside down! Fortunately the styrene solvent hadn’t quite set hard and I was able to quickly prize the parts apart – phew – lucky escape! I let everything set hard and next day cleaned up the ‘torn-apart’ joint before glueing it in position again (this time the correct way up). The two completed sides were now joined to the ends and floor, ensuring everything was square. But time was running out for the finished model to appear at Guildex that year – so the show came and went. However, an incident that occurred at Guildex made me make a radical decision regarding the Siphon H.
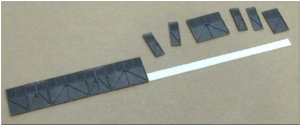
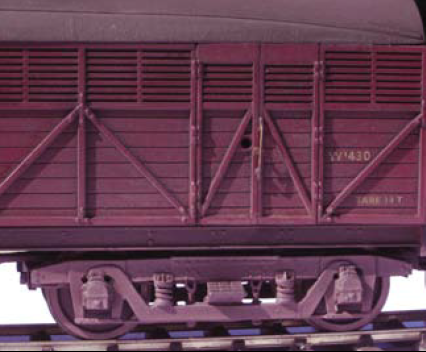
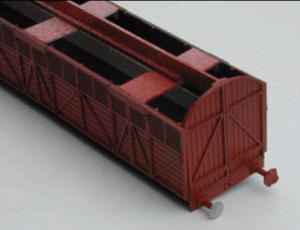
Each side is made up of 12 separate pieces which are glued to a piece of plain styrene sheet (not supplied with the kit) – set just up from the bottom edge to allow for the floor moulding which is fitted later. Ensure everything is straight, in the right sequence and the correct way up (unlike the Editor’s first attempt).
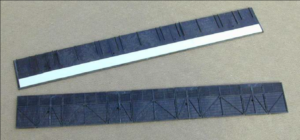
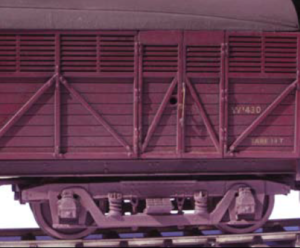
Inside and outside completed sides, showing the white strengthening piece of styrene strip glued securely in place. This had been previously cut to length, just short of each end, to allow for the thickness of the end mouldings, which are again fitted later. Incidentally, the holes in the left hand doors on the prototype were to enable anyone shut inside the vehicle to reach out and open the door if they became trapped inside.
For quite a few years one of the mainstays of the Happisburgh parcels fleet had been my model of a Slater’s Southern bogie parcels van. It was similar to the Ian Kirk Siphon kit in that it was built almost entirely of plastic (I decided not to invest in Slaters brass etched bogies at the time of purchase – big mistake) so it was a little on the light side. But with a good chunk of scrap metal glued firmly inside it ran well. But its weak point were its plastic bogies, and on more than one occasion both fellow Club Member Peter Elmslie and I have had to repair them. At Guildex they broke once more and I decided to buy some ‘Way O’ white metal and brass replacement SR 8ft (steam) bogies. These would add additional weight to the model and would certainly give the vehicle reliable running. Fortunately Peter owed me a favour from painting one of his locos, so he ‘volunteered’ to assemble the bogies for me and fit them to the vehicle. Prior to Guildex I’d already constructed the bogies that Ian Kirk had supplied with the kit and realised that although these went together in a matter of minutes, if anything they were more flimsy than the Slater’s ones from my Southern parcels vehicle. I’ll state here and now that if all you intend to do is build a quick and cheap kit that looks good and runs well the bogies supplied for both these kits are perfectly adequate. However, as mentioned above, experience has taught me that vehicles that regularly attend exhibitions have to be made just that little bit stronger
than normal.
So some weeks after Guildex I visited the ‘Home of O gauge’ shop in Raynes Park (now sadly closed) and bought some ‘Way O’ GWR ‘American’ 9ft bogies. I’d already learned that the Siphons were fitted with different type of bogies in their lives and this was the sort I needed for the period of modelling chosen. I also bought some ‘T’ shaped brass door handles whilst there. I’d decided that as the Siphon was now going to get the ‘full treatment’ I might as well shave off the moulded handles and replace them with more realistic brass ones. I had also hoped to be able to buy some grab handles there, but despite the huge range of bits and pieces stocked, the shop didn’t have any available when I visited. I’d already bought some very nice Haywood sprung GWR Tapered Coach Buffers whilst at Guildex, so apart from the missing grab handles felt ready to get on with the Siphon once more. Wrong!
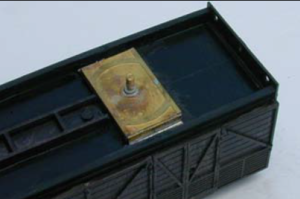
The next job was attaching the roof. It was supplied as an over-sized piece of vacuum-formed plastic. I cut it roughly to length (always leave a little extra – just in case. It’s always best to file this sort of thing down to correct length once fixed in place). But Top: You can see here the pieces of thick styrene sheet that I glued across the top to give the model extra strength.
A further piece of styrene is glued vertically along these to prevent the roof from sagging. In this second picture the body has received it’s first coating of car spray primer – in this case red oxide. The right hand buffer still has its coating of masking fluid in place, on the left hand one it has been removed after the paint dried.
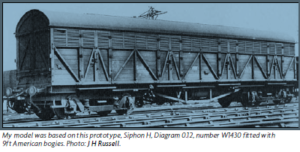
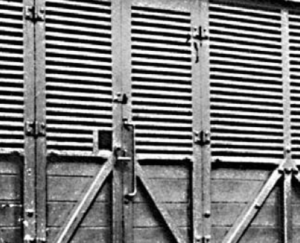
A detail picture of a ‘Siphon C’, which gives a good indication of the typical type of wooden construction employed by the GWR. when I offered it up to the body I just couldn’t for the life of me fathom how it was going to fit.
The end profile of the Siphon H is significantly higher than its sister Siphon G and the roof moulding I held in my hand just looked too shallow. I’m a great believer in leaving a job a few days if you get problems like this, as if you rush into it things can go very pear shaped. I kept going back to the model over the next few days and held the roof up against the body, hoping I was missing something obvious. Then it dawned on me. Perhaps Ian Kirk made two different roof profiles? One for his Siphon G and one for the higher roofed Siphon H. His phone number was printed amongst the instructions, so I gave him a call and explained my dilemma. “Oh yes, I do all sorts of roofs for my coach kits and they do occasionally get mixed up when I put them into the kits!” Oh well, that at least explained what had happened and as Nick Freezer and I were taking Happisburgh Goods to the Pontifract show the following week Ian promised to bring me a correct roof with him, as he had a stand there.
What started off as a quick cheap kit was becoming complicated and more expensive than I had originally bargained for. As I mentioned previously, the original basic kit was a reasonable price, but with the Way-O bogies, metal wheels, buffers, door handles, grab handles (later obtained from Slaters) and paint, together with the Kadee coupling I was intending to fit, the overall cost was getting on for £100. But thinking about it, that’s still very reasonable for an O gauge bogie vehicle that will hopefully be strong and run well.
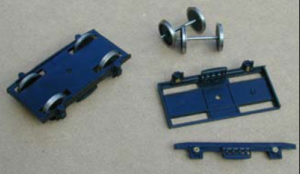
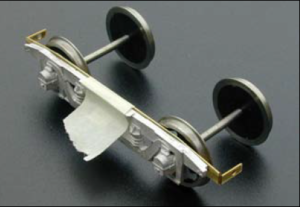
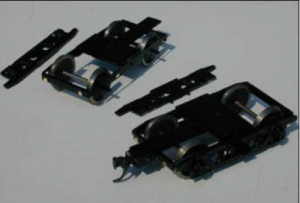
The original Ian Kirk bogies
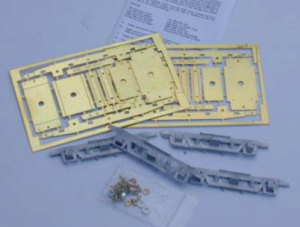
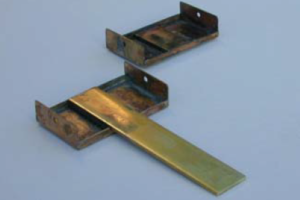
The contents of the Way-O ‘American’ 9ft bogie kit.
So back to construction. I’d never assembled a Way-O bogie before, but had heard good reports about them. The kit comprises of a mixture of white metal bogies sides with the main structure being formed from a brass etch which must be cut and folded to shape and then soldered together. I’m no great expert on soldering, but first inspection of the bogie kit looked quite straightforward – and it would have been had it not been for the fact that the side frames etch used in the kit is a generic one, and is obviously used for different kits with different length white metal bogie sides. When I did a dummy run of the parts I noticed that it protruded past the white metal bogie sides about 4mm on each end. Normally, when made up and painted, it wouldn’t After a bit of head scratching I realised that I had two choices: Move the bogie mountings back a bit, which would be a damn nuisance, as the they were already glued in place with Araldite, and if the bogies were moved they would make the model look noticeably incorrect. Or I could shorten the side etches. This I decided to do, but realised from the outset it was going to be a bit of a tricky job. The side etches have two vertical folds on them, which bend round at right angles to be eventually attached to the end pieces. I scribed new vertical lines 4mm from the original fold line, but on the other side of the etch.
The bogie mounting, showing its close proximity to the buffer beam.
My reason for doing this was that with etched fold lines, you fold into the fold line and usually strengthen with some solder. But with such a thin piece of brass I didn’t think I could cut a deep and wide enough slot without breaking the etch. So once I’d marked the position of the new fold on the other side I very, very carefully cut half way through the thin brass and made my new right angle fold in the metal (with the cut being on the outside of the fold). A small amount of solder was flooded into the new fold and also used to fill-up the un-used etch fold. The result was surprisingly strong. A little filing was needed to match the profile necessary to marry up with the end stretcher and a new hole was drilled that would take the fixing bolts. You will see in the photograph the difference between the original etching and my modified one.
The un-modified etch, folded-up with the white metal side frame temporarily taped to it clearly showing the excessive length of the etch.
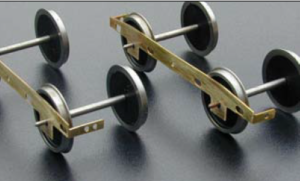
On the left, my shortened version compared with right, the original one.
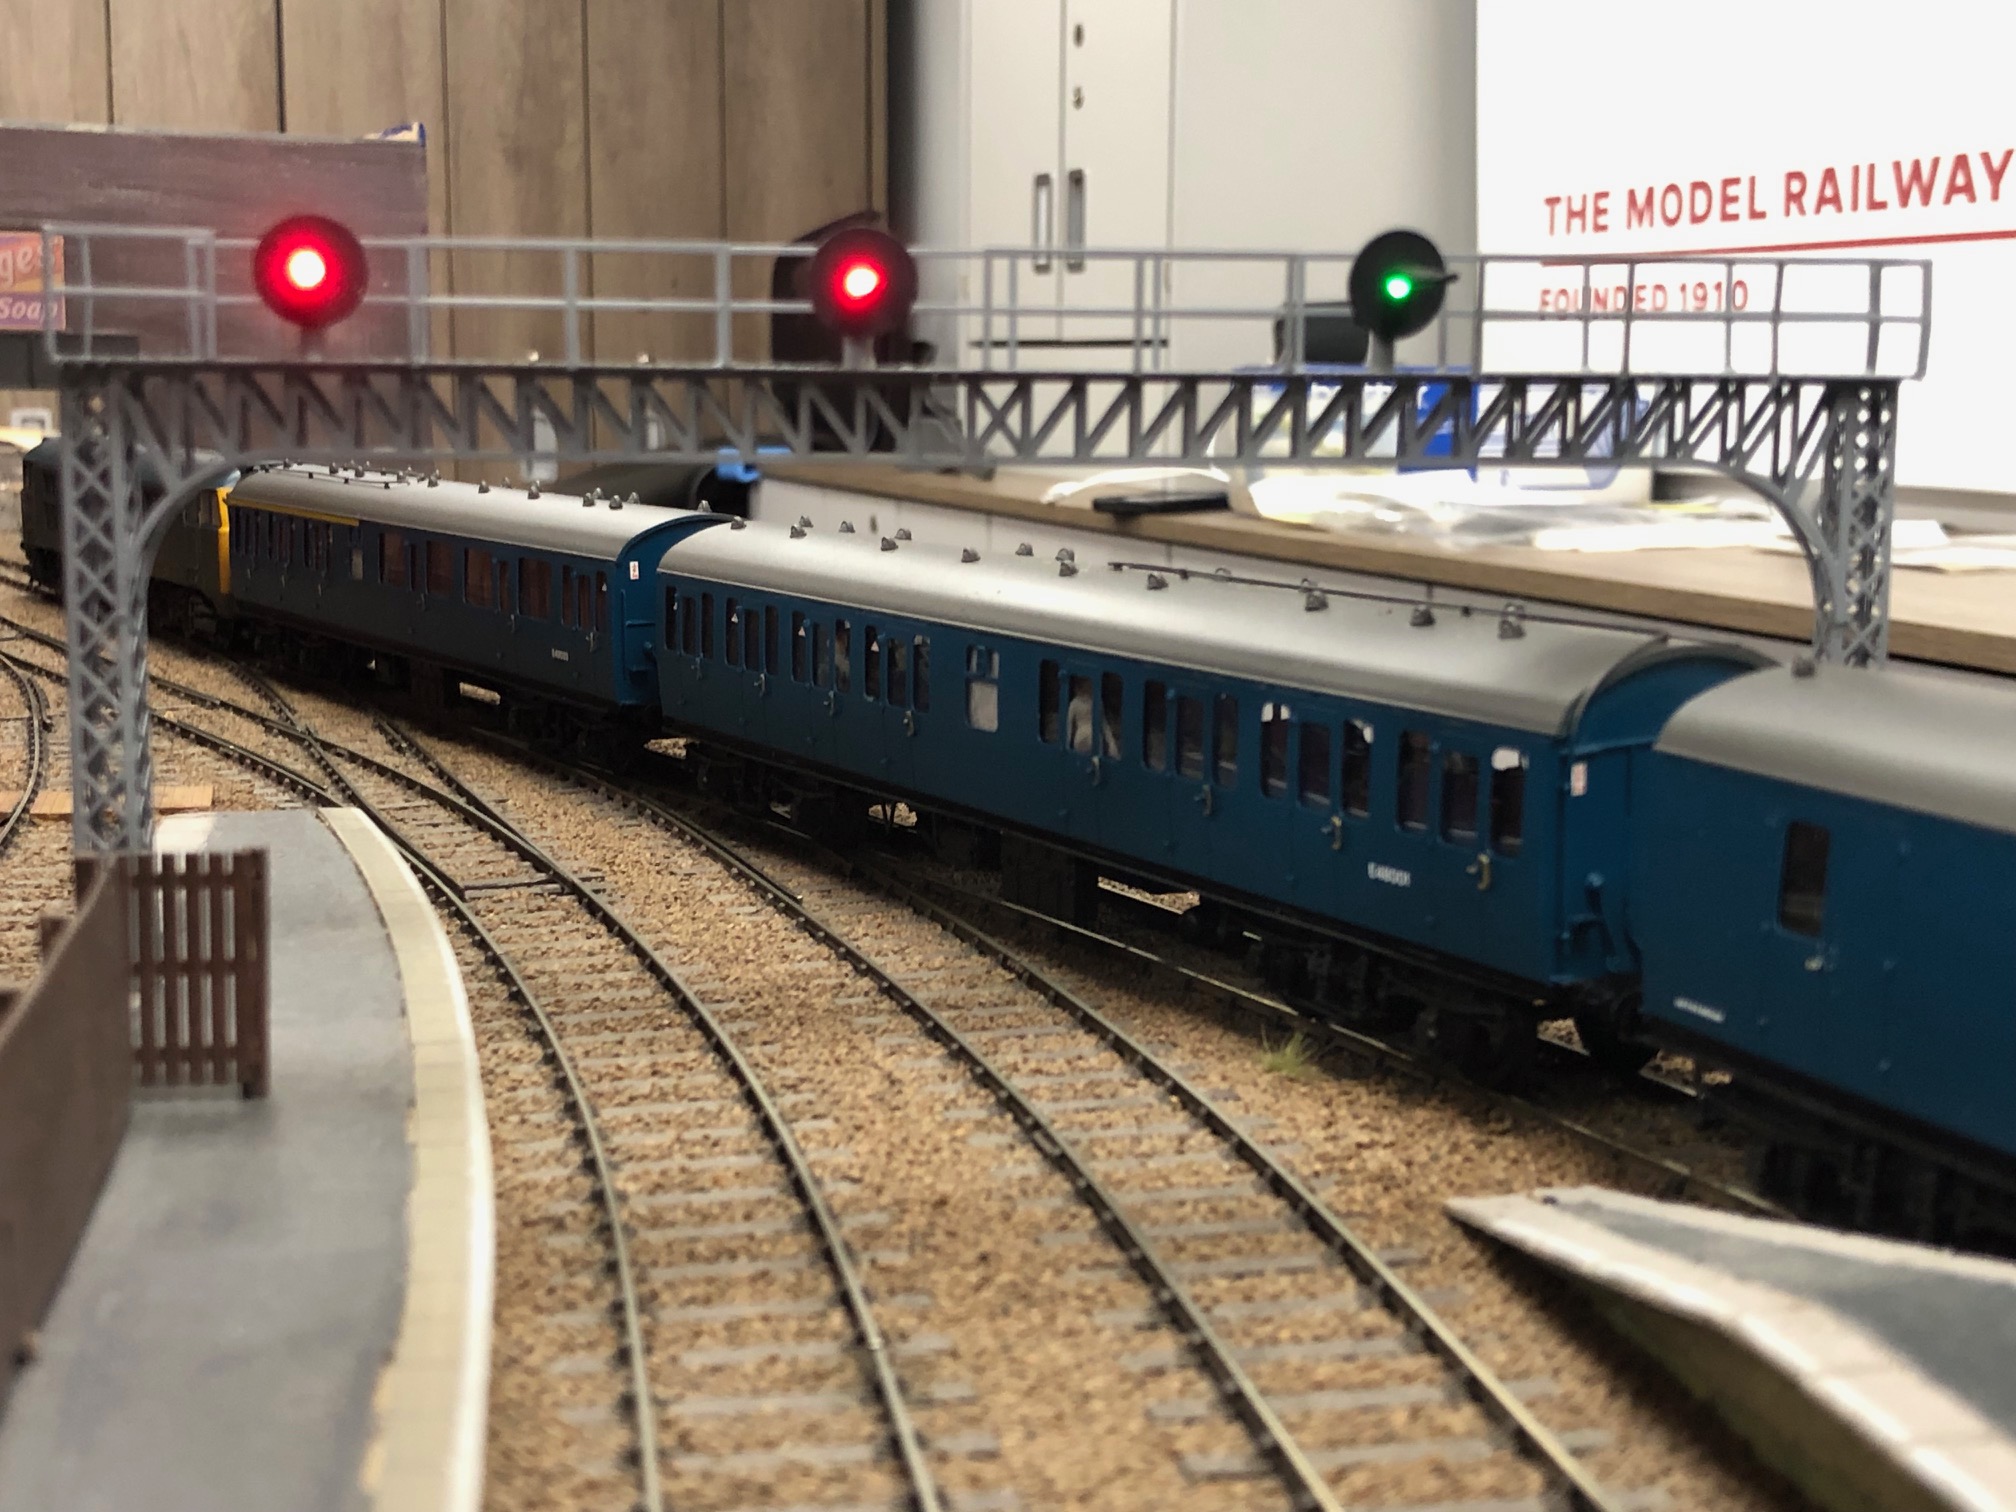
It’s probably about here you’re starting to think… this guy makes life hard for himself. Well, it doesn’t stop there. As I mentioned previously, on Happisburgh’s passenger and parcels stock we have Kadee auto couplings fitted. They are very reliable and make for easy operation – provided they are fitted correctly. We have learnt from experience that it’s best to fit bogie stock with the coupling fitted to the bogie, not to the body. So just when I thought that it would be a doddle to finish off the bogies once the above modifications were made I had to start to think about attaching the coupling. Fortunately by now my SR bogie parcels van had been ‘refurbished’ by Peter Elmslie, and was now running beautifully with its Way-O bogies and Kadee couplings. So I have to confess a straight copy of what Peter had done.
Brass strip being added to the bogies to enable Kadee coupling to be fitted.
The bogies being finally assembled.
As you will see from the photograph of the upturned central bogie assembly, the one in the background has a small piece of brass packing soldered to it (to enable the coupling to be at the correct height – very important), and the foreground one has a further, longer piece of brass soldered to it which will eventually carry the coupling. So far I was feeling quite proud of myself, as normally I’m only a plastic kit-basher and I’d never attempted anything like this before. The bogies were then assembled as per instructions and a small hole drilled at the far end of that long piece of brass, so that the coupling could be bolted to it. The result was a strong and reliable bogie assembly, which was then attached underneath the vehicle and given a test run up at the Club. It was here I realised the couplings were protruding too much and the gap between the Siphon and the adjoining vehicle was excessive.
A close-up of the finished bogie.
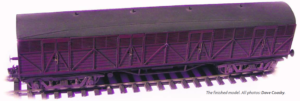
By now, with all the problems I’d already overcome, I felt I just couldn’t face taking the bogies to bits again to adjust the coupling fixings. Bill Waters (another O gauge modeller) stood beside me at the time and sensed my disappointment. Fortunately Bill whisked the model away and returned it the following week with the necessary modification – thanks Bill! As this vehicle was to be modelled in BR days, I used an aerosol can of Halfords Red Oxide Primer to spray the body having first removed the bogies. Once fully dry this was followed by a coat of Vauxhall Burgundy Red. The bogies were also sprayed with primer then matt black once the wheels had been removed (an easy job with Way O bogies) and the roof was painted using Phoenix Precision P130 BR Roof Grey (for maroon coaches). The door fittings and buffers were then fitted and some Fox transfers applied, followed by a light dusting of aerosol matt varnish. I then set to with my usual treatment of weathering, using copious amounts of white spirit with a few dabs of blacks, browns and greys added in. Once applied, I almost immediately wipe most of it off again, let it dry, have a close look, then repeat again where necessary until it looks about right. The weathering tones down any inaccuracies that might be apparent from using paint that is normally found on Vauxhall Astras instead of BR parcels stock! I’ve done quite a few vehicles using this paint and no one has said to me “that colour isn’t right” – yet! To conclude: A lot of frustration and a lot of hard work. But I ended up with what I really wanted – a strong and reasonably good looking ex-GW parcels vehicle. And I quite surprised myself at overcoming some of the hurdles that presented themselves to me. I even found I had skills I never knew I had before… but I don’t think I could be persuaded to do another one!
This article was first published in Bulletins 441/2/3 – available to download in the Member section of our website. The kits are still available – for example from H and A Models https://www.hamodels.net/ or Ian Kirk http://www.iankirkmodels.co.uk/
“Happisburgh” has been sold, but we are building a new 7mm scale model Bow Junction. Find our more about the benefits of joining us here
You may also like...
Thursday Track Nights
We are open on Thursday evenings from 7pm to 9pm at our Keen House clubrooms. Visitors are welcome, please come along and introduce yourself.
Address:
Keen House, 4 Calshot Street, London, N1 9DA
Become a member