Updating Lima PGAs – Suspension and Pedestals
Tom Cunnington
26th December 2020
5 minutes

I’m gently building some rakes of block freight that might run around the outskirts of London in the late 70s / early 80s, taking advantage of some of the more recent high quality releases like Accurascale’s PTA/JUA stone wagons, but also going back and assembling collections of older models as I find them cheaply.
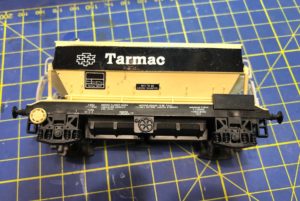
To compliment the later bogie hoppers, I’ve been putting together a rake of the earlier 4 wheeled PGAs, using both the Lima and Hornby models from ‘some time ago’. The Lima model seems passable to me, but needs several adjustments. The main one and focus of this blog is some fairly serious changes to the wheels – this is not a straight swap of wheel sets as the original wagon rides too high, and as supplied has the shorter Lima axles. Luckily there is a kit available from the niche but high quality Stenson Models that solves both problems and also provides springing.
One of the reasons to chose EM rather than P4 was the ability to avoid springing and compensation as the default – I’ve built both with some success (and a couple of spectacular failures) – as it’s an extra complication. Therefore with constrained time for modelling springing, compensation and sprung buffers are luxuries I decided I could live without. However in this case the springing is pretty straightforward.
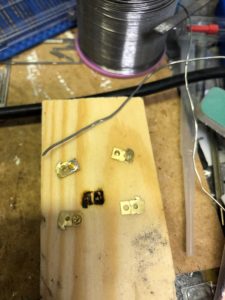
The kit is a combination of a small etch with new bearing holders, bearings, the spring wires cut to length and white metal castings to replace the injection moulded plastic. And very clear instructions you can download from the website before you buy.
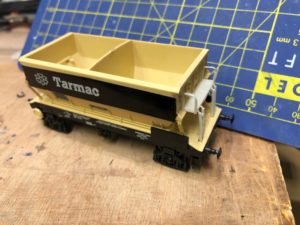
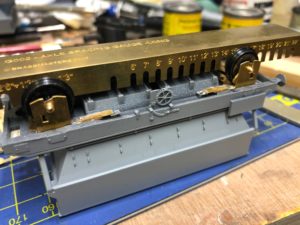
First job is to remove the existing pedestals. The instructions suggest using cutters, and this worked fine with care. However after the first one I moved to a slitting disc on a mini drill and – taking care not to overheat the plastic – found that just as good and much quicker.
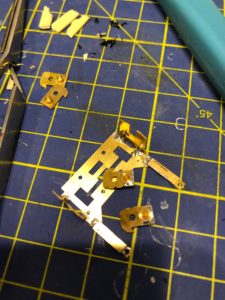
Next job is assembling the brass elements. Nothing new here for any brass kit builder, and good instructions if this is your first time. It’s folding half etches neatly, and then small amounts of soldering. There are some areas where solder shouldn’t go, and the sliding surfaces need cleaning up. I used electric solder which was to hand with green Carrs flux, and washed well afterwards.
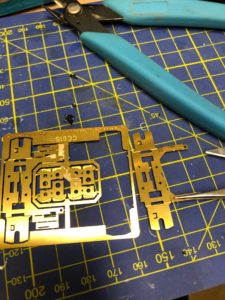
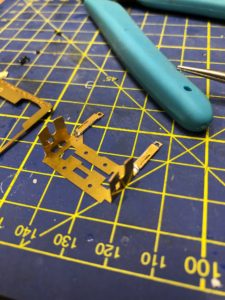
First up here is the etch being cut out
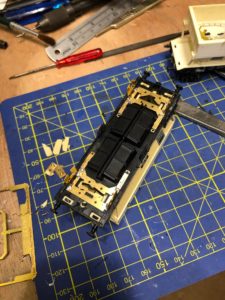
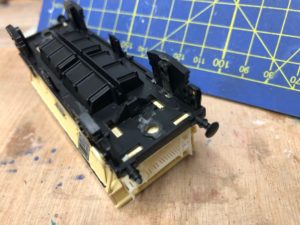
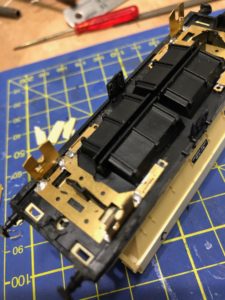
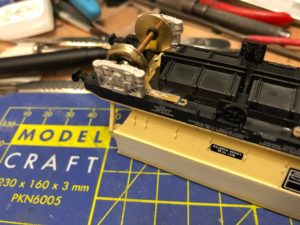
and then the assembled pedestal frames in place on the prepared wagon. Note the use of the slightly random plastic projection between the wheels, that is used to align the new wheel bearings.

These are glued in place with superglue – again good design here with holes to add a little extra glue as you go. I’ve used superglue gel throughout this built as it is more controllable.
It is important to follow the instructions and make sure the brass sits flat on the underside of the chassis. A sharp scalpel on the plastic and file to tidy up any solder are all you need.
The bearing plates need a little care to avoid getting solder into the half etched area that the spring wire will locate in. The bit I got wrong was gripping them there whilst applying the solder elsewhere, and pinching the quite thin etch together so that the wire wouldn’t fit. So it’s better to hold together at the other end whilst soldering to avoid any damage to the half etch area.
I used some scrap wood with a hole drilled in for the bearing to sit in whilst soldering it in place, once the bearing plate had been soldered together.
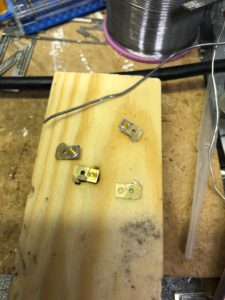
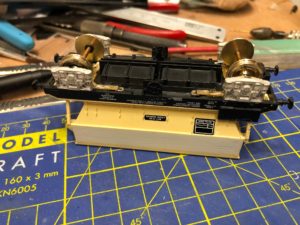
And here are the soldered up bits soldered up and washed ready for fixing to the wagon
On the first wagon, I’ve used DCC Concepts metal wheels, as I was awaiting an order from the EMGS of the normal black wheels I’m using on the rest. The wheels have disc brakes again from Stenson glued into one end only of the wheel.
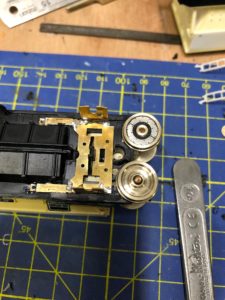
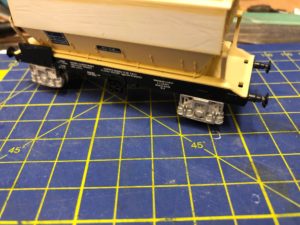
Once the glue holding the pedestal is set, I had a dry run with the bearings, wheels and spring wires.
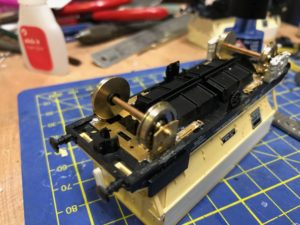
The springing worked fine first time on this wagon (others have needed a little fettling – a very fine file or abrasive block on the faces of both the bearing mounting plate and pedestal frames to remove any slight edges), and happy with the movement and free running the white metal suspension I carefully super glued the castings in place too.
Out of 10 wagons, I only managed to get glue into the sliding mechanism on two pedestals – fairly easily fixed but again much better had I taken more care with the glue.
On one wagon, a previous owner had cut off the plastic that is used to ensure the pedestal frames. To ensure that the axles were parallel I used the Brassmasters jig that is always a useful check on any kit built wagon. It pinches the axles in place using the etched slots, creating a solid alignment whilst the glue sets.
That’s it for part 1 – the concept works, the wagons need repainting from the hotch potch of liveries, and then other detail added.
You may also like...
Thursday Track Nights
We are open on Thursday evenings from 7pm to 9pm at our Keen House clubrooms. Visitors are welcome, please come along and introduce yourself.
Address:
Keen House, 4 Calshot Street, London, N1 9DA
Become a member