Quintart Build – Part 2
Tom Cunnington
23rd April 2020
5 minutes
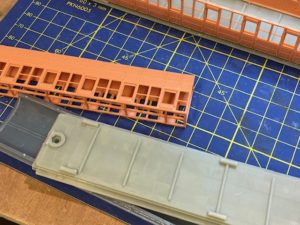
The bodies all follow the same principle for construction and just to confuse things these pictures aren’t all of the same coach. A reminder, this is how they come:
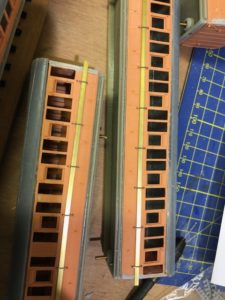
As well as sanding off the pips where the elements are joined in the printing, there was a small amount of filing of some window frames. These sections then have to be superglued together, so it strikes me it’s a one-chance to get it right as pulling superglued resin apart isn’t easy. There are good locating points between the various parts, but I found I had to file away a small amount on the end to get them to sit at the right height compared to the sides. When a trial fit was OK, I firstly glued an end and one side in place to get them square to each other and left them to set for 15 minutes, then did the same with the other end and side.
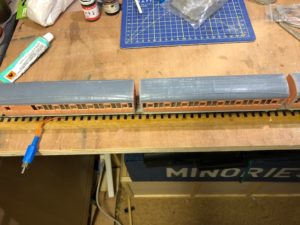
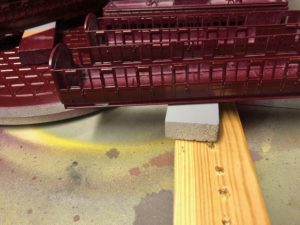
In about half the cases these made nice neat corners, but the others had gaps that needed filler. I don’t think this can be avoided given the material being used, and the shots below show grey Humbrol plastic filler hardening off a first fill before sanding. Then they needed sanding, a further touch up with filler and a final sanding off with a very fine sanding pad (see further down – as someone asked after the last post). 8BA brass bolts are glued in through the floor to provide the articulation.
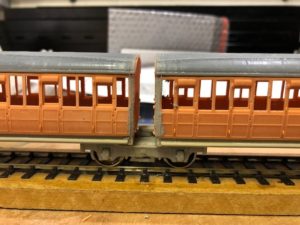
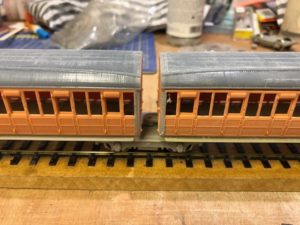
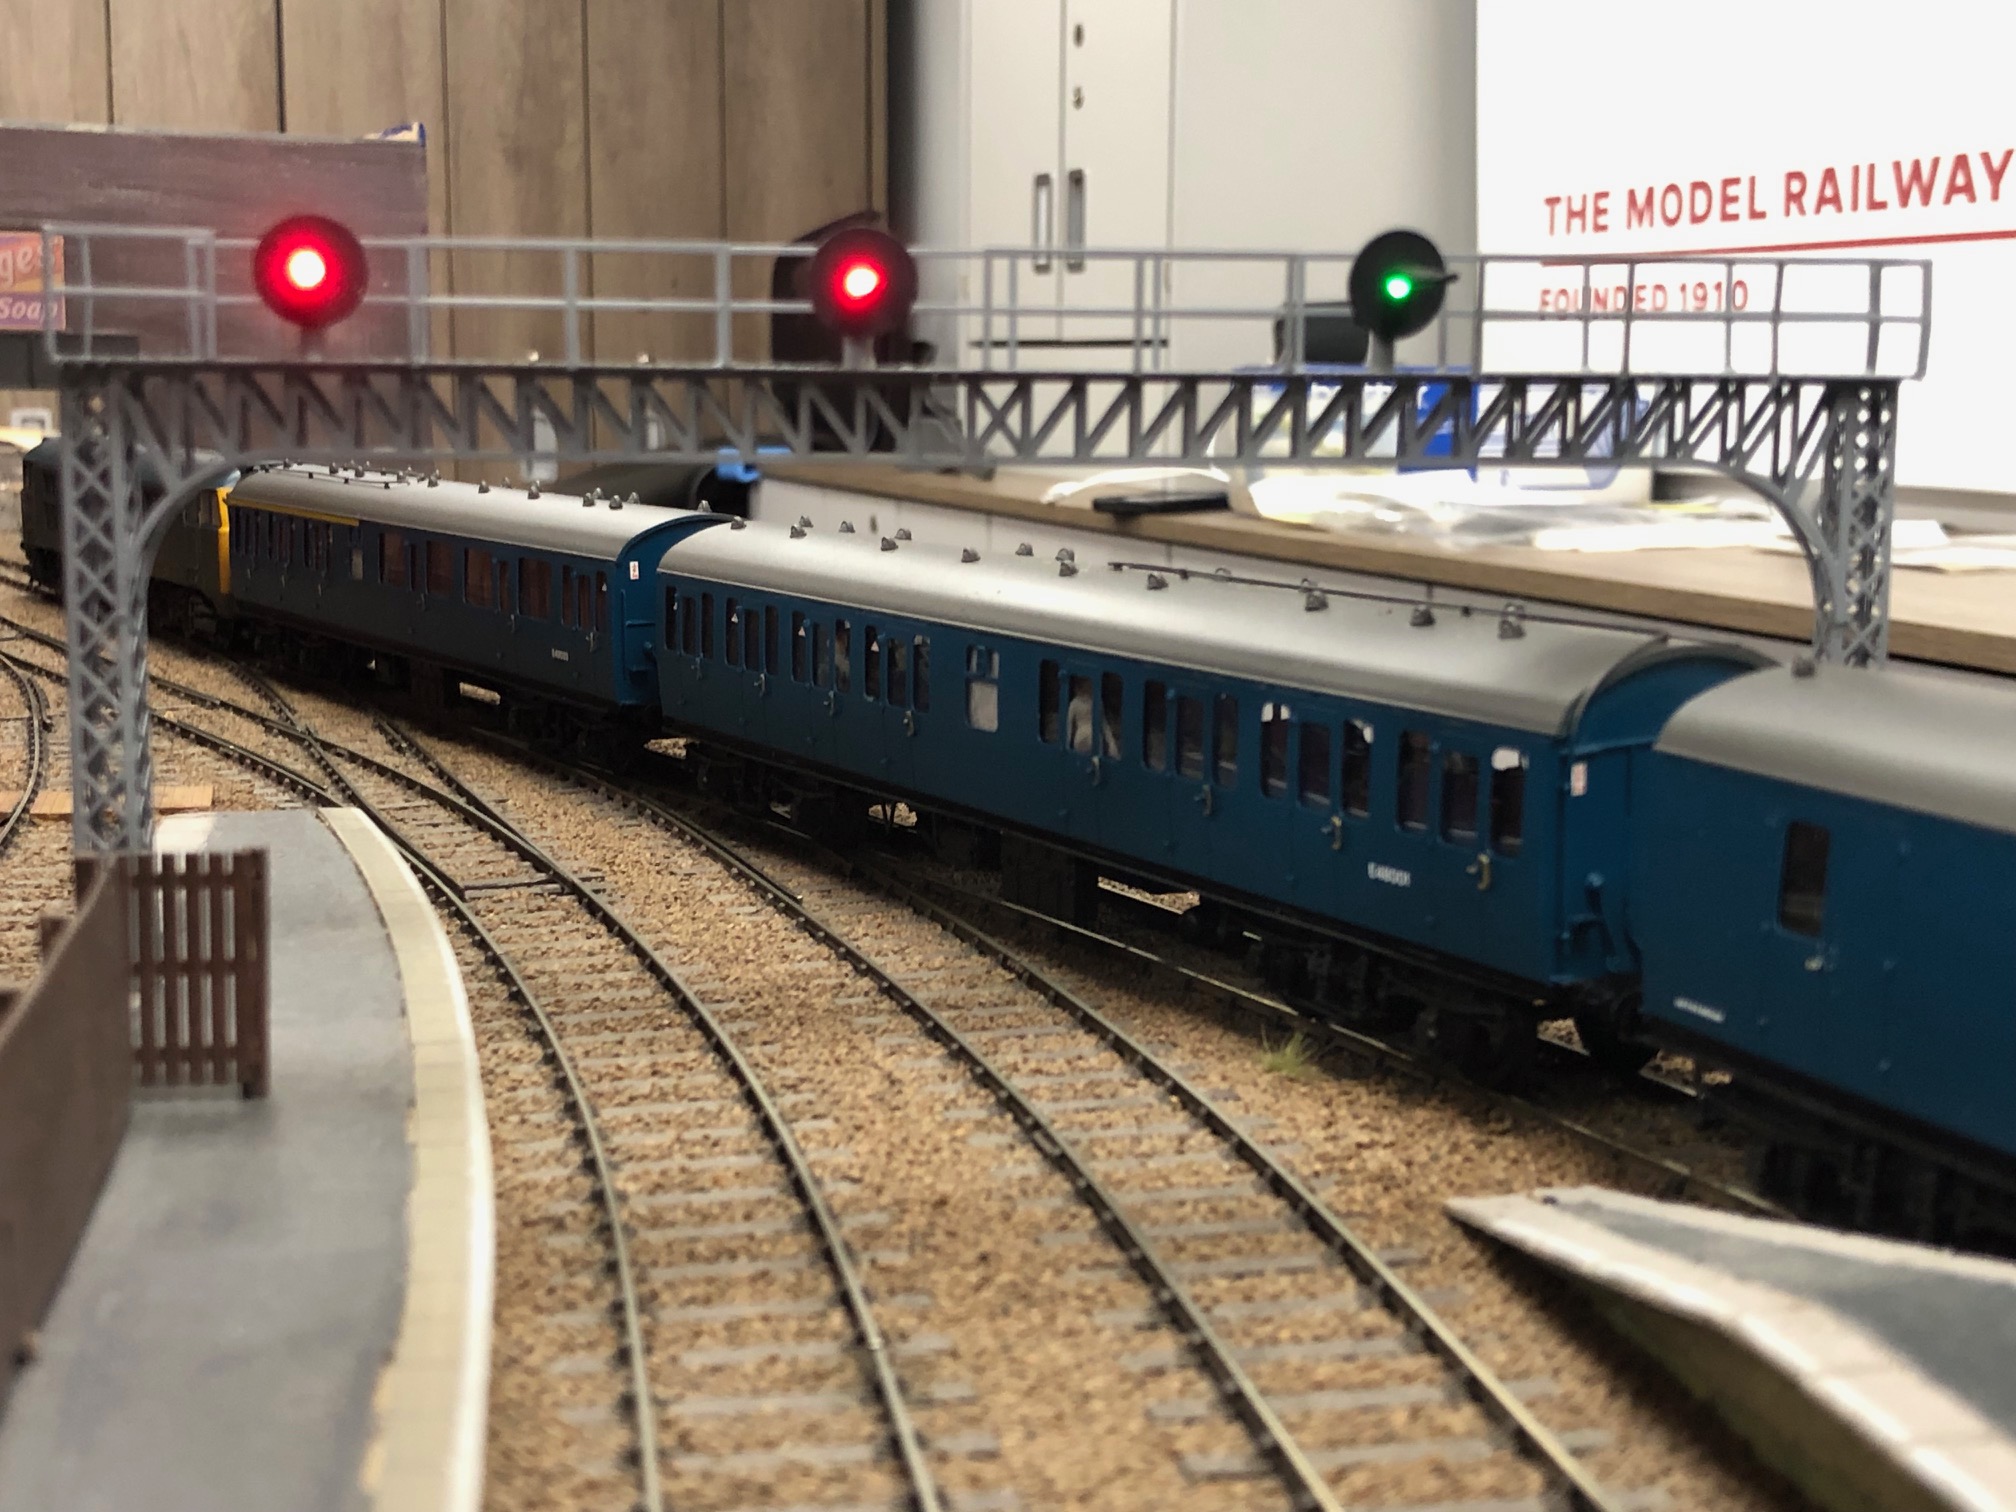
The roofs needed a small amount of filing down the sides and inside the ends to fit into place neatly – they need to be slightly loose to avoid pushing out the ends or sides. But here are the coaches sat on the bogies on the test track.
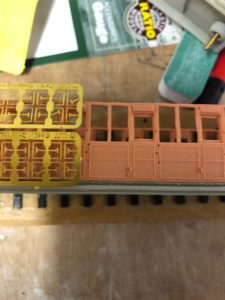
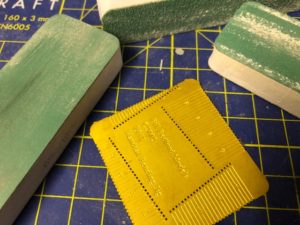
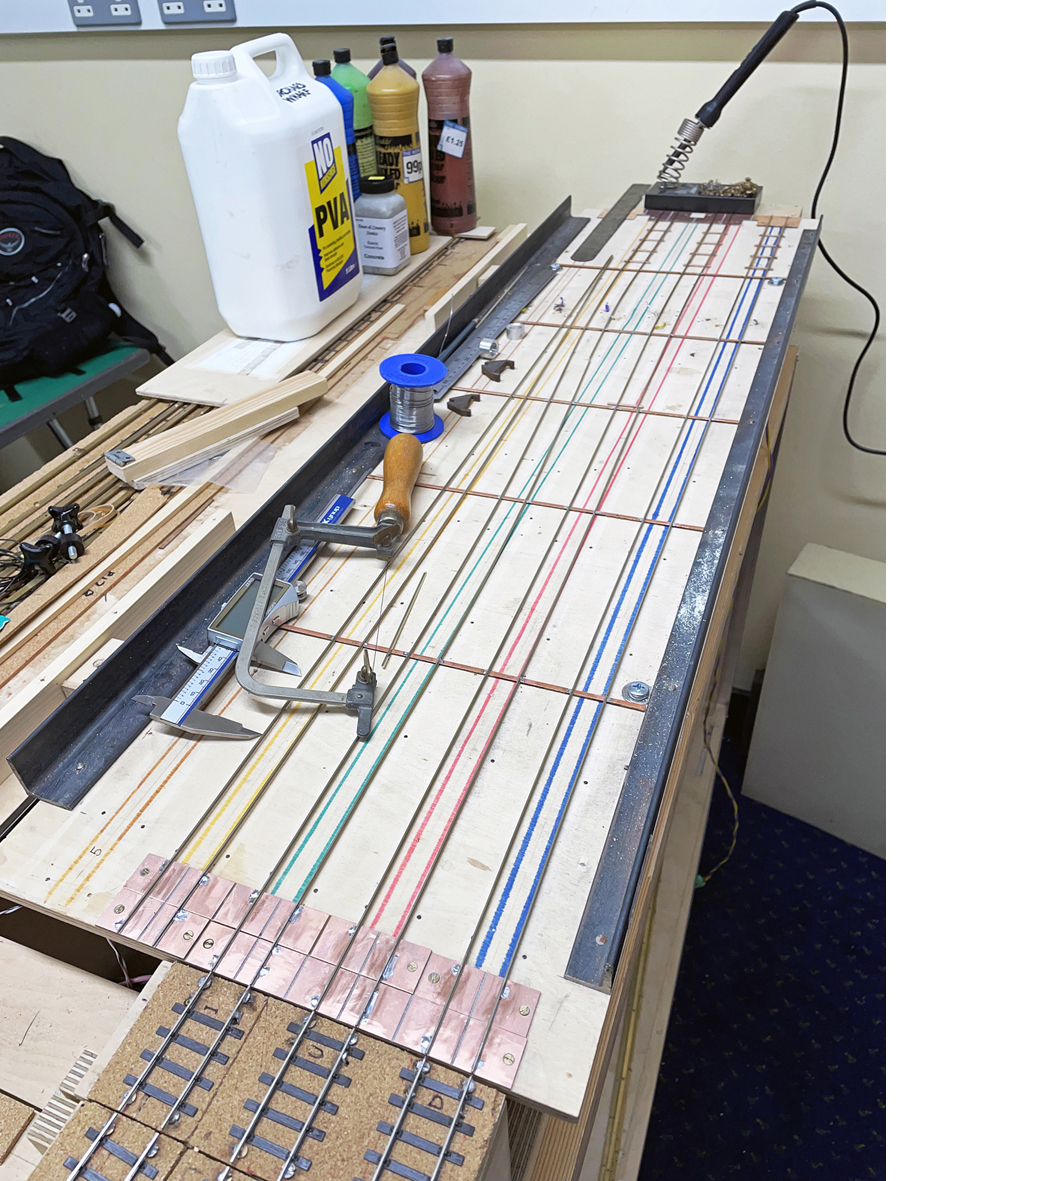
Next up on the coaches is the handles and handrails. I had hoped to use MJT handrails – as they are easy to glue (or solder) into place and then bend over to provide the right shape. But as this next picture shows, they aren’t in the right place for the preformed holes. I couldn’t work out which was right and wrong, so went with the holes on the coach and improvised with some 0.5mm nickel silver wire, bent to shape in a Bill Bedford bending jig – here between the sanding blocks of varying grades – which gives a consistent U shaped bend. Also shown is the technique for getting a consistent positioning if the handles, using a piece of brass section. After pulling out the brass section, the MJT handles went in. It’s not quite right, but looks OK from the distance they’ll be seen on the layout.
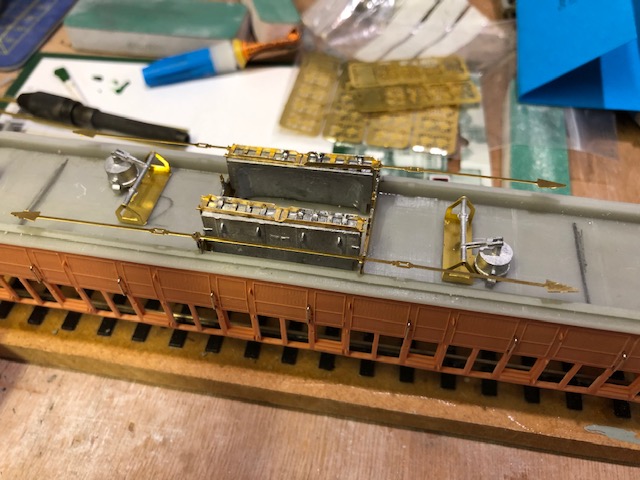
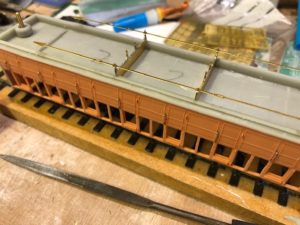
Then to the underframe. The kit doesn’t come with parts for this, but MJT sells the parts as a kit (dartcastings.co.uk/mjt/2805T.php) which I hoped could be adapted. It’s a mixture of white metal and brass components well designed and easy to work with, but I bought one to try rather than enough for 5 coaches as they aren’t cheap. It’s designed for brass coach kits, so needs some mods, primarily around the queen posts than need their width reduced to fit within the floor recess. They are etched and have to be folded back on themselves and soldered, but it follows standard brass kit assembly techniques. Then the queen posts are glued to the floor, using the truss rods to get the spacing right. At this stage I haven’t removed the unnecessary middle two posts, or soldered the trusses in place. The pencil lines show the position of the maximum bogie swing, and following the assembly of the battery boxes and brake cylinders they are glued in place as well. The trusses are removed for painting.
It appears lockdown has led to a rush of LNER modelling, as Dart Castings / MJT has now sold out of the underframe kits and awaiting new stocks from their etching company. So I’ve taken the decision to carry on with the top part of the coaches and will come back to the underframes later.

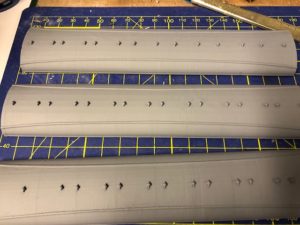
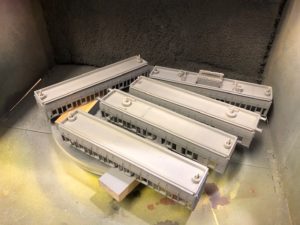
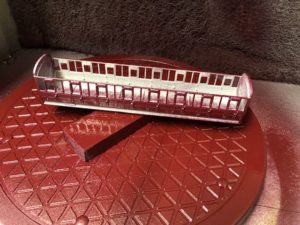
The roofs needed a little bit of cleaning up as there was some excess material around the rain strips, but using the internal channel and comparing it to the drawings and compartments on each coach the vent holes are drilled out, and the vents supplied with the kit glued in. The roofs are currently primed as shown here – awaiting some other roofs which may be ready soon to spray in one go to the final colour. These are the different roof types, spot the brake (bottom) and composite (top – which has one less compartment than the 3rd coaches)
Then to painting the bodies. Before painting, I cleaned the bodies off with a Cif type product gently using a toothbrush and rinsed well. Then primed with Halfords plastic primer and after 48 hours used a can of Just Like the Real Thing maroon. Luckily both my preferred modelling period is right at the end of the maroon period, and Orchard Wharf is about 20 years earlier so I don’t have to worry about the teak finish that I’ve been reading about in Steve’s blog a few days ago (https://www.themodelrailwayclub.org/cambridge-buffet-express-painting-teak/).
I’m just about out of these particular rattle can paints sadly, but they are so easy to use and give a great even coating and finish without the faff of getting the airbrush out for blocks of colour. And unlike some other suppliers of model paints, their nozzles don’t clog up and keep a really good fine spray even though they are probably 10 years old. Two coats do it and they are now hardening off whilst I move to painting the seats ahead of the job I am dreading most – glazing.

Find out more about Orchard Wharf here, and my layout Minories here – and follow us on twitter @orchardwharf @minorieslayout
And click here to join the Club
You may also like...
Thursday Track Nights
We are open on Thursday evenings from 7pm to 9pm at our Keen House clubrooms. Visitors are welcome, please come along and introduce yourself.
Address:
Keen House, 4 Calshot Street, London, N1 9DA
Become a member